Stephen Hatcher Demo: Mar, 2010
We had Stephen Hatcher demonstrating for our club - on Mar 19, 2010 for the full day
demo, and the 20th and 21st for the hands-on class. It was quite
instructive on the general area of stone and mineral inlays.
D Vannier hosted the demo in his garage as he did with Art L, or last demonstrator. Many thanks to David for he and his wife's hospitality and generosity to open their home. The following written by David before the event, was updated after the event for posterity:
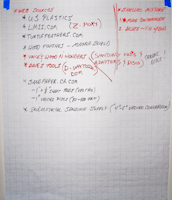
We charged $20 for members, and $45 for non-members (includes the cost of joining the club).
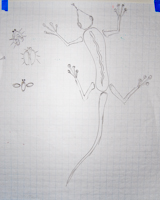
This demo had a short slide presentation of his work, hand-outs for
the material source, and a demonstration of the inlay process. His
work includes coloring and stone inlays that go far beyond just filling
cracks. He uses a number of different kinds of stone.
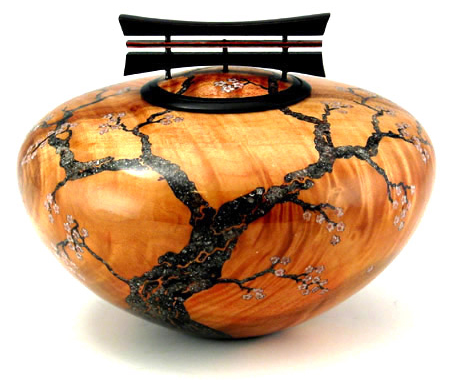 He will
show us how to go from stone to inlay. If you are not familiar with his
work, please check out the photo's that I've included as well as his
web
site. I attended his demo several years ago in Provo, and
was fascinated with his work. At the time, I was not ready to try to
attempt this, but now would really like to try.
He will
show us how to go from stone to inlay. If you are not familiar with his
work, please check out the photo's that I've included as well as his
web
site. I attended his demo several years ago in Provo, and
was fascinated with his work. At the time, I was not ready to try to
attempt this, but now would really like to try.
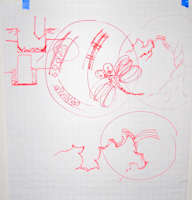
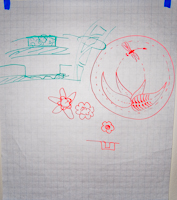
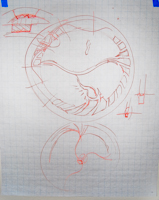
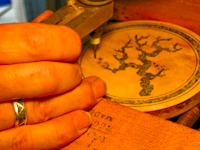
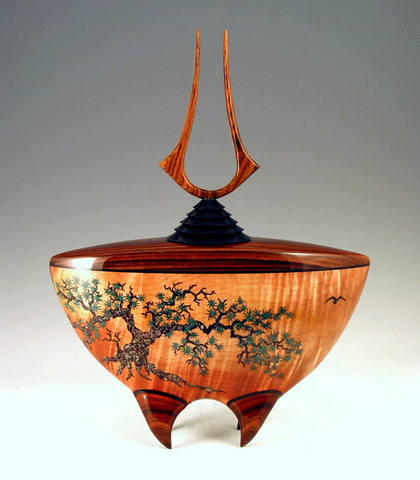 When you look at the second photo, Peregrine Migration, you will see his
signature form of inlay.
When you look at the second photo, Peregrine Migration, you will see his
signature form of inlay.
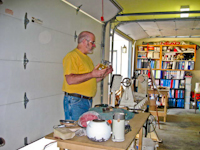
We had a 2-day hands on class following the club demo, Saturday and Sunday. This was limited to 10 students, and had 9 attending. In the hands-on class, we made a small bowl/plate with an inlay rim on the first day, and learned the translucent process the second day. Cost was roughly $100 plus a lab fee of roughly $40 per student for the two days.
Notes from the full day demo:
The handouts are available on this website: inlays, minerals, suppliers.
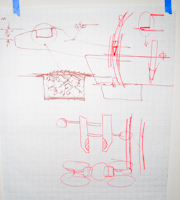
 Process flow is pretty straightforward:
- Cut inlay groove or pattern, deburr, spray with a Shellac that quickly is dried,
- Once the piece is turned and ready for cutting the inlays, layer the inlays as needed, glue with super fine CA glue, dry and sand, repair and continue.
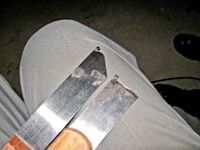
Some of the keys are to be sure to cut the grove 3/16" deep with vertical walls, using a thin (1/16in) parting tool (Penn State has a waiting list, available in mid-April).
Cover the piece completely with Shellac after each sanding, before further application of glue. Source: flakes from Shellac Shack (mixed 1:10, Shellac to denatured alcohol)
 Do not overuse CA accelerator as that can cloud the
appearance. Use
safety precautions and good control over the quality of the air you breathe.
Do not overuse CA accelerator as that can cloud the
appearance. Use
safety precautions and good control over the quality of the air you breathe.
The company was US Plastics and the bottles are at US Plastics. 16 once, chemically resistant bottle. A bottle having DNA can be used to wet a dry bowl before final sanding. Works like water in that it raises the grain, but dries quickly and lets me keep working, while water takes a long time to dry. (Note: at least one professional turner that uses it between each grit of sanding, as it also helps remove the sanding dust/grit.)
The "shopping list" David suggests include:
- 3 knives: For $10/ea from Penn State, $20+ each from
Craft Supplies.
- 2 spray bottles: See above, one with DNA and Shellac, the other being DNA alone.
- Shellac flakes: See above
- Burrs (for dremel tool): in his handout above.
- CA: very thin viscosity. One uses a lot of this.
- Minerals: This looks to be the biggest $$ item. We used $140 worth of stone and $80 worth of inlace/etc for the 1 1/2 day class. Dave's guess is that he should get an order of somewhere in the $100 worth of stone and then probably will end up with close to $100 worth of inlace, since I'm starting with nothing and will want to try some variety. But, this is also a place that we can probably gain discounts from a group order. If we get the inlace from Craft supply, then we would get that discount, but we should look for another place to check out.
- Sanding pad: a PSA pad that works on a sander could be converted to grip with some Velcro. It is clear that you need the larger pad for the initial sanding. Made a huge difference. I know that Jim was thinking he wanted to get one.
- Sand paper: Dave is going to try out the ceramic sand paper that he talked about. The Mirka paper didn't hold up very well on the stone. The paper that Bill had held up ok. If we do much, and the ceramic is a good as he said, it might be worth it.
- Hood Magnishield, hi-gloss lacquer: bake 120F overnight. Can buy in 1 gal containers.
Slides: